by
by HMI?!
HMI stands for Human Machine Interface, which is a fancy way of describing an element that enables the interaction between a human and a machine. In this case, we will be talking about HMI displays. In particular HMI displays manufactured by a company called STONE.
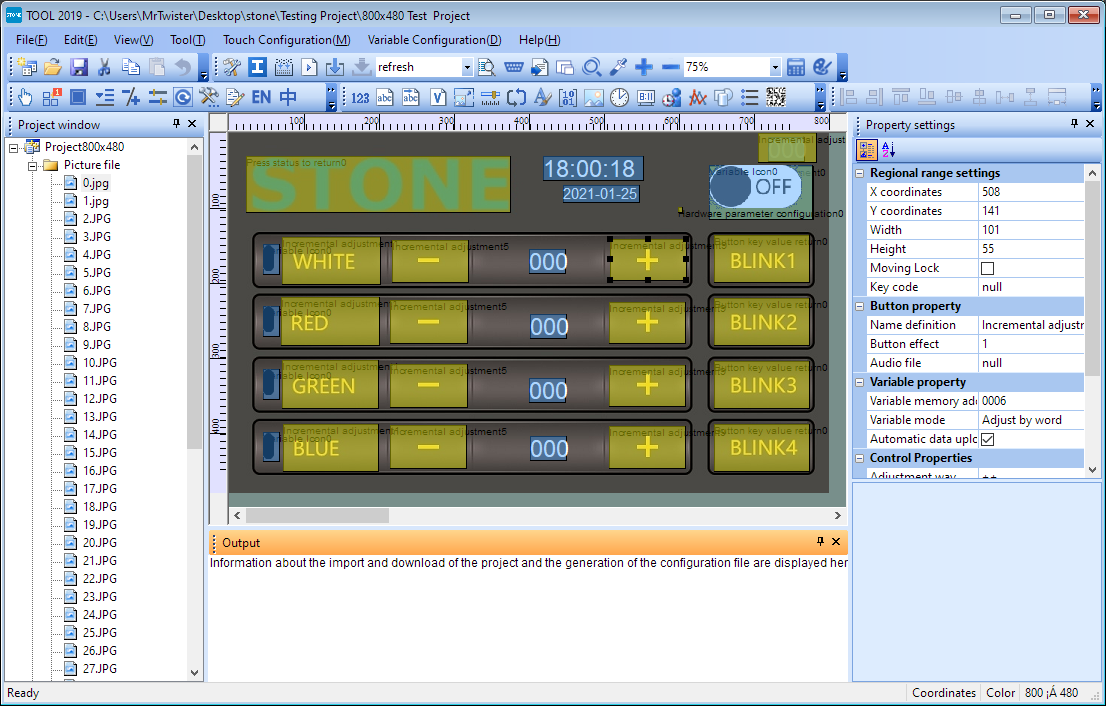
What makes their screens different to regular touchscreens? Well, they are not just the screen. They have an integrated controller that handles all the “User-Interface” (UI) for you. You only need to “design” the UI of your application in a PC-based editor, and then transfer it to the LCD. From that point onwards, the LCD itself will take care of handling the graphical elements, while your circuit/project/microcontroller can do its own thing.
Your microcontroller can still read/write values on the display, change the current view or page, or update the state of the graphical elements, all through simple serial commands, so they truly make the whole human-machine interaction a lot easier.
I found this approach particularly cool, because it frees your project’s microcontroller from doing graphical and UI work, and allows you to have gorgeous and responsive interfaces even if the heart of your project is a low-spec CPU that would never be able to handle a touch interface on its own.
Disclaimer before we proceed further: I want to make it clear that I got this screen for reviewing purposes. They agreed to 100% honest review as long as I put the time to understand the product and make a project with it, so in this post you are getting my fully unadulterated opinion.
What’s in the box
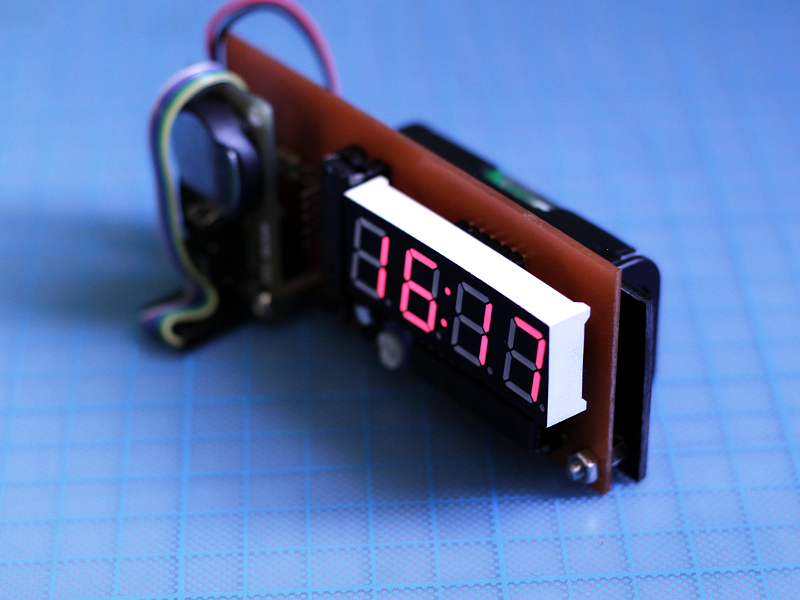
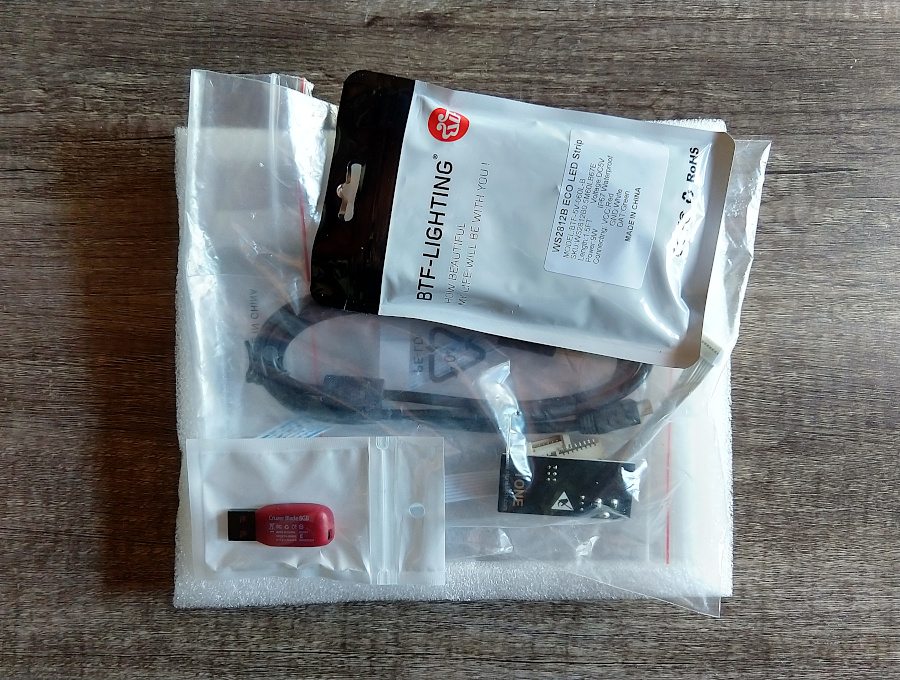
I got a STV070WT-01 screen, and it came with a pretty and well printed connection diagram, a couple of booklets (one is a brochure, the other is a sort of programming example in C), and all the components needed for a neat demo using a RGB LED strip.
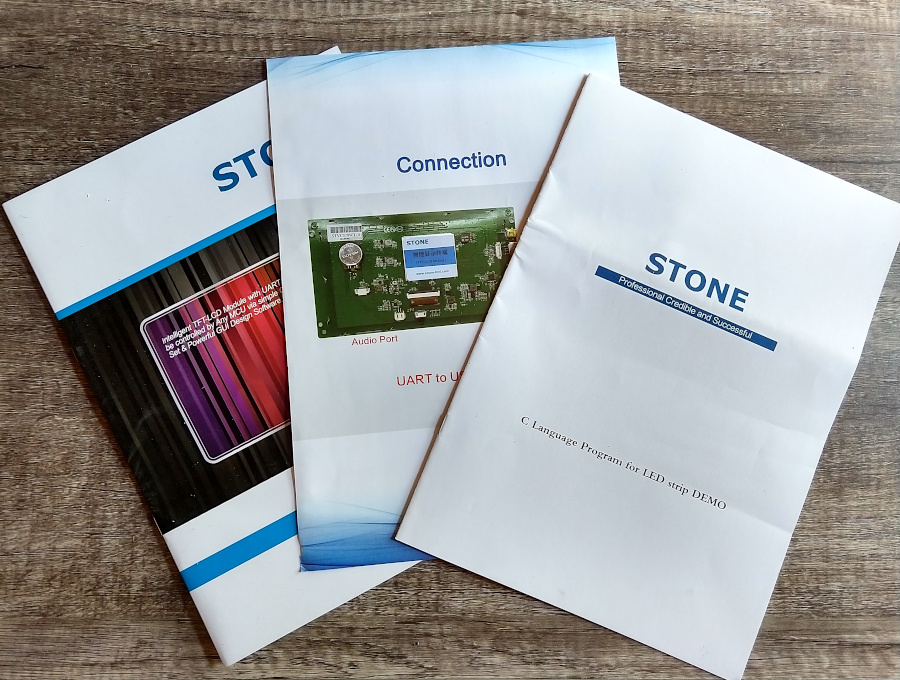

The “C coding example” is around 10 pages of printed C code to control the aforementioned LED strip. Now, I’d say it’s a bit pointless to print such a long listing of code, but I guess it gives you an idea on how these screens are handled from a code perspective.
A digital copy of the brochure is also provided in a generously included USB Flashdrive, together with the datasheets, Programmer’s Guide and Software tools needed to use the screen. The PDFs are pretty comprehensive and -while not perfect- are readable and easy to understand.
All in all, I’m still blown away by all the stuff they bundled with the product. The “starter” demo however… well, that’s a different story.
The RGB LED Strip Demo
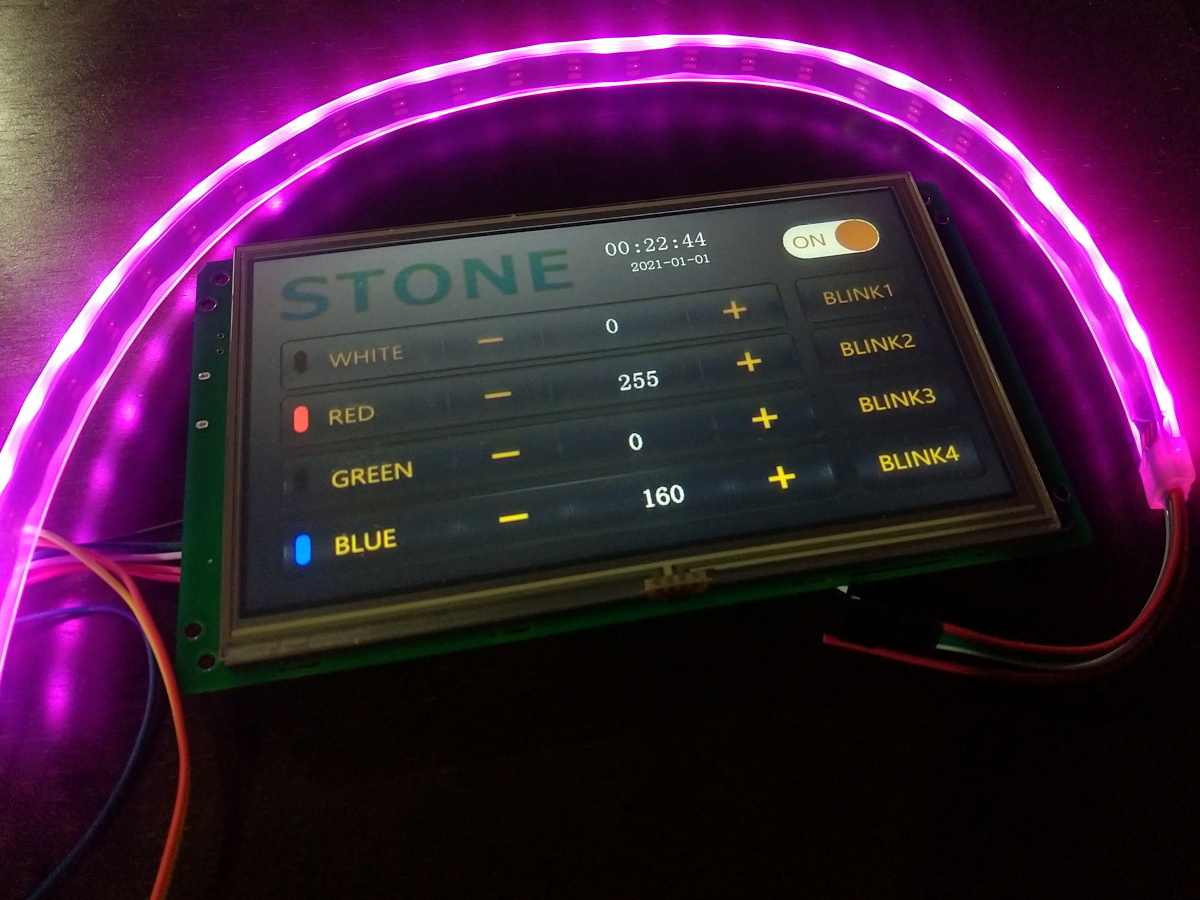
Well, the demo was supposed to be simple project written for the small STM32 “blue-pill” board (included in the box), that allows you to control the (also included) RGB LED strip, from a rather nice Touch-based UI, which is (you guessed it) already configured in the LCD.
In theory you only need to transcribe and compile the code for the STM32 board from the printed “Example C Code” booklet, and upload it to the board and voilá, you should be able to play with the example yourself.
The good news: The code is also in their webpage. so you don’t need to type it. That version of the code seems to be bit different from the printed code, but it has the same structure, and seems to be written for the same dev environment.
The bad news: You will quickly realize that the example is incomplete. After you figure out from the pictures in the documentation that they used the ARM Keil development environment, you will notice that there’s no mention of the additional frameworks and libraries you need to get for the demo to work (things like “delay”, “uart”, etc are not there by default).
I ran a fresh install of the latest version of ARM Keil and I had to hunt down the libraries online for quite a while. I eventually found this template on Git-Hub that contains most of them, but even with that, getting the thing to even compile was a nightmare. I had to replace/update/refactor a few sections of the code that seemed incomplete or incompatible with the libraries I got.
You also need a J-Link or an ST-Link programmer to upload the code to the STM32. I had one laying around because I’ve done some work with STM32 processors, but if you haven’t worked with them this might also be an additional barrier.
Now the worst part: Although I spent almost a whole day trying to make the demo work, I just couldn’t. I don’t know if it was the bits of code I had to change myself, but the demo wasn’t working for me. I later discovered that the MAX232 converter that was included with my LCD was not working properly; It was overheating most of the time, and not transmitting nor receiving. But even if the MAX232 was the only problem, there were already too many obstacles for a common hobbyist to play with the demo and get familiar with these screens.
I like everything about these displays, except their approach to the code. A working example project on GitHub (with links to the dependencies) would have been nice. Anyway, I decided to work my way around it as I usually do.
Fixing what’s broken
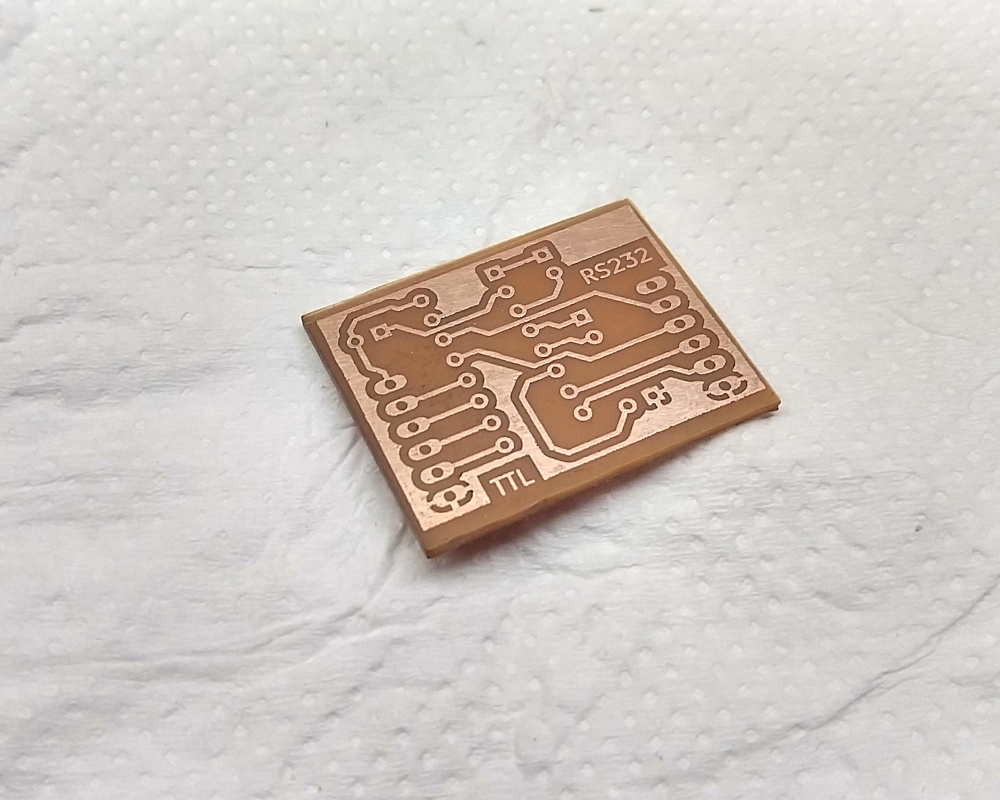
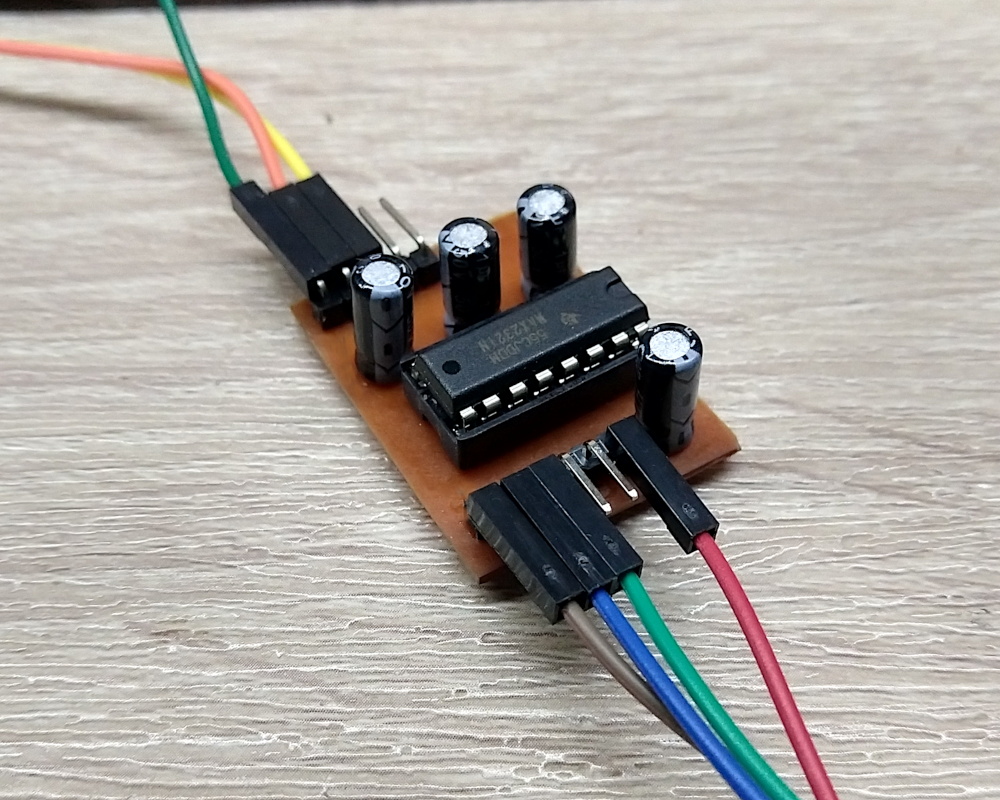
So first I needed to fix my problem with the included MAX232 board. With this purpose I made my own simple adapter using a working MAX232 in DIP format (I would have loved to just replace the faulty SMD IC in the included board, but DIP package is all I could get without having to wait a month for online delivery).
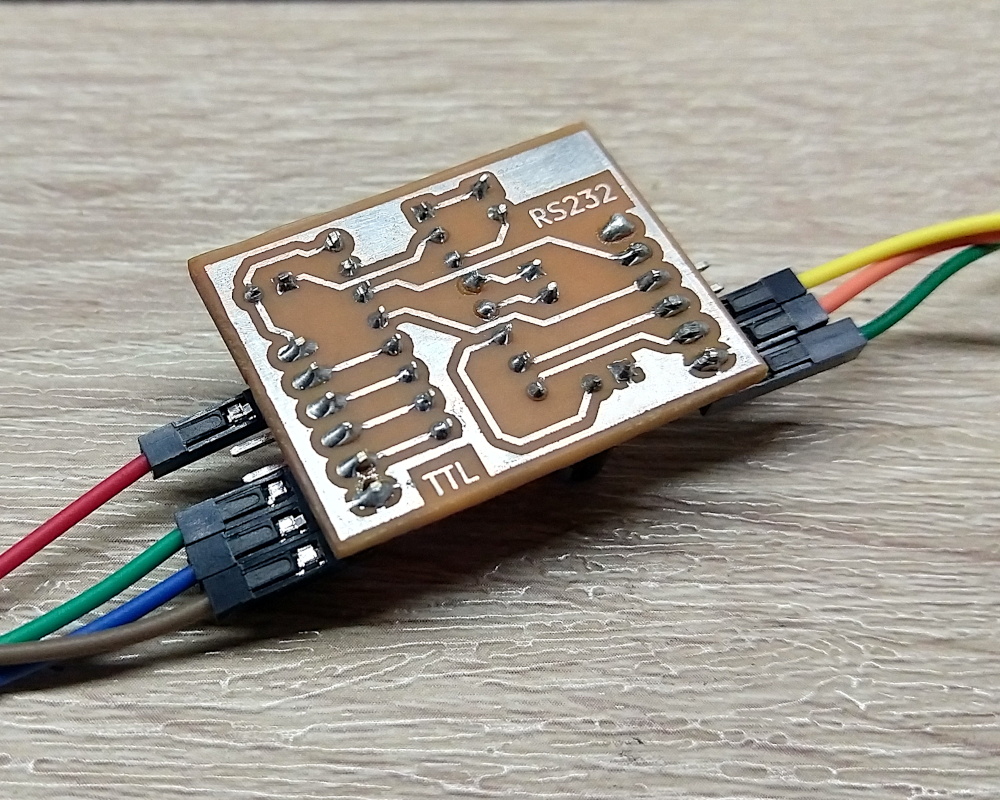
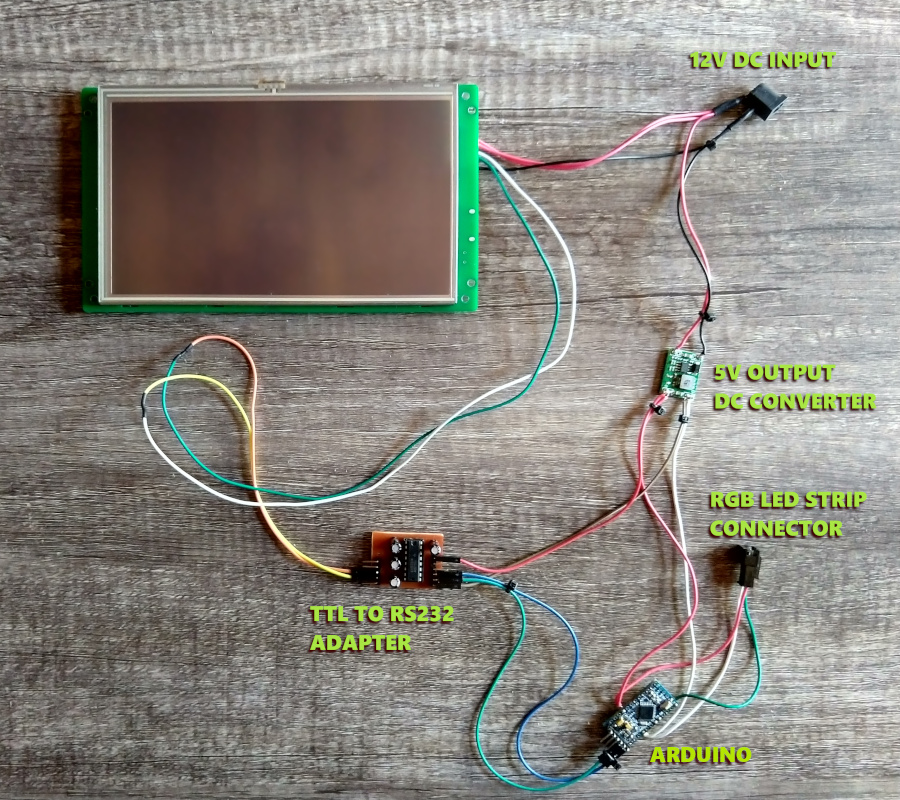
Now that I had a fully functional adapter to communicate the screen to a microcontroller, I decided to rewrite the RGB demo, but for an Arduino instead of a STM32 board. This (I hope) would also help other people to work with these screens out of the box.
At this point I only needed to wire my adapter to the Arduino and the display and connect the remaining stuff.
StoneLCDLib
The next step was of course to re-write the full RGB Strip demo but for an Arduino board.
To do this I decided to first create an Arduino Library for these displays. This would make my RGB Strip Demo code simpler, and it would enable me to easily use this display again in other projects.
It’s still a work in progress, but my library already contains all the functions you’d need to read and write values to these panels, and receive “events” from them. You can get more details from its Git Repository.
Included as an “example” of my library you’ll find a Sketch that works with the RGB Strip Demo Project; meant to be a replacement of the STM32 code that was supposed to be used with it.
Some changes to the demo project are required to run my version of it, though, so after you download my library you’ll need to:
- Replace the STM32 board with an Arduino.
- Reduce the project’s communication baud-rate to 9600 and re-upload to the display.
- Upload the example from my library to your Arduino (make sure you can disconnect the TTL-RS232 converter while you upload the program, because it uses the same pins).
- Re-connect the TTL-RS232 converter and reset the board.
Follow the steps above and you should have a working RGB Strip Demo with a hopefully friendlier library that would enable you to quickly work with the Stone LCD displays.
Conclusions
I really liked these screens, and it’s quite likely that you will see me using them in a future project, where I hope I can get to explain how they work in more detail. I also intend to expand my library a little further, but I hope that you enjoyed this first look, and I also hope you find my library useful if you are already working with this brand of HMI Displays.
UPDATE: Here’s the second part, where I actually make a project with them.