 by
by I was pretty excited when I learned that Texas Instruments has a line of cheap & open-source development tools for their MSP430 microcontroller family (10 years ago they only offered ridiculously overpriced proprietary tools). They apparently created this new line of programming hardware back in 2010, so I ordered one of their Launchpad boards the other day, which is a MSP430F5529 evaluation board AND an EZ-FET Lite programmer all in one.
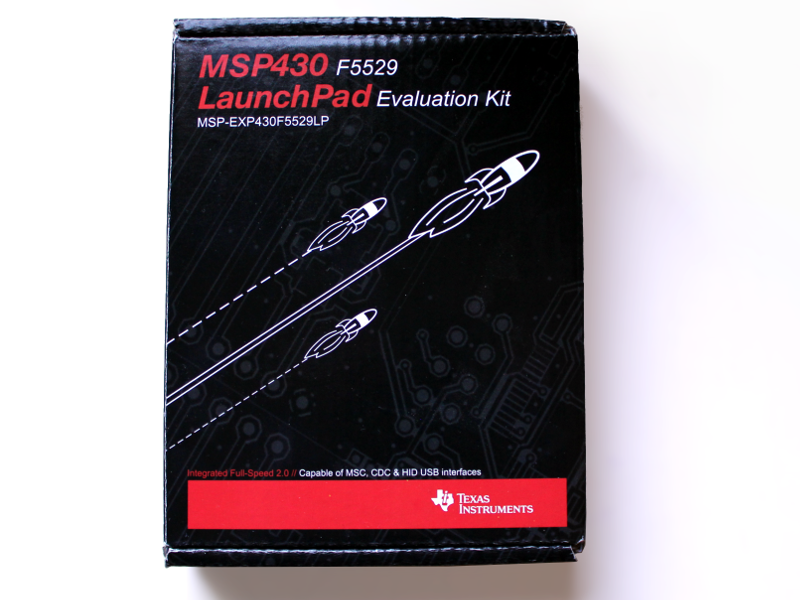
It was seriously cheap, really. $12.99 USD including shipping (and there’s a cheaper one for $9.99). This is insane considering that their traditional devkits cost over $200.
As I said before, this board not only has a MSP430 processor you can play with (and attach tons of modules, sensors, etc in a very Arduino-like fashion) but also has and on-board programmer and debugger that can be “isolated” and used to program any external MSP430 microprocessor with the Spy-bi-Wire (SBW) technology.
So my original plan was to FINALLY use a couple of MSP430F133 that I got like a decade ago but never had the tools to use them, and program them with the Launchpad.
I stumbled upon a problem early with the plan, though. My old processors DON’T have a SBW bus so I can’t use the launchpad’s EZ-FET hardware with them. My only options were using JTAG (Joint Test Action Group) or BSL (Bootstrap Loader)… “protocols” that the programmer portion of the Launchpad does not speak.
I discovered, however, an application note from Texas Instruments (SLAA535A) that details the use of a standard MSP430 launchpad as a BSL programmer, which in theory would allow me to program my stupidly-old processors with the board (btw, if you are struggling to find the Windows FET Drivers for the Launchpad, here they are. Have no idea why there’s no link to them in the Launchpad’s page. It took me ages to find them).
The QFP package of my MSP430F133 processor is kinda difficult to interface with, so I started by making a board where I could mount the MCU and have every pin available through standard 0.1″ pin headers:
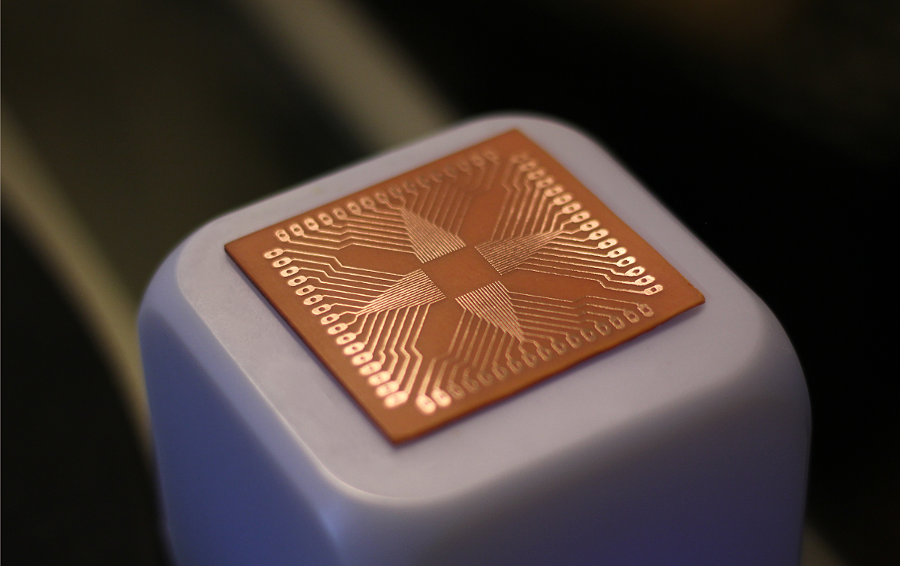
UPDATE: Click here to download the PCB stencil for the MSP430 DIP adapter (1200dpi)!
After I soldered one of my processors on the board I had something like this:
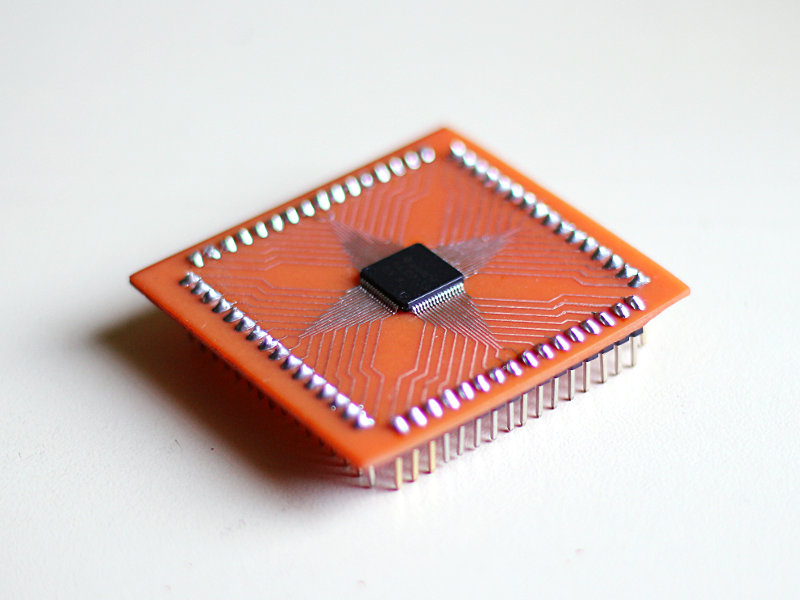
Now this is the tragic part: it turns out that the particular launchpad I purchased has a processor that is drastically different from the one used in the application note (for which the firmware was developed). When I tried to recompile the FW to use the MSP430F5529 instead it failed miserably because the code relies quite heavily in registers that don’t exist in my Launchpad’s MCU.
This is my first time playing with the MSP430 processors so I totally lack the knowledge to port the firmware to the MSP430F5529.
I reached a dead end, sure, but since I was already fiddling with this thing I decided to have some fun with the Launchpad board (which means I won’t be using my adapted MSP430).
Developing and testing code with TI’s Energia (a modified Arduino IDE) is quite straightforward, particularly if you have previous experience with Arduino. It’s basically the same. It comes with tons of examples and libraries for different modules and devices and you can compile your code and “burn it” into the target board with the press of a button.
I also downloaded the quite-promising MSPGCC toolchain because I love C and I’ve been in love of GCC since my early teen days using DJGPP in DOS.
I wrote a quick “blink-a-led” program based in the tons of examples online and I was ready to test it out.
#include <msp430.h>

int main() {
    WDTCTL = WDTPW | WDTHOLD; // disable the watchdog

    P1DIR |= (BIT0); // P1.0 as output
    P4DIR |= (BIT7); // P4.7 as output

    P1OUT = 1; // P1.0 starts ON
    for (;;) {
        P1OUT ^= (BIT0); // Invert P1.0
        P4OUT ^= (BIT7); // Invert P4.7
        __delay_cycles(250000); // a ~250000uS pause
    }
    return 0;
}
MSPGCC compiled the code with no problem, but I soon learned that there was little to no info online on how to transfer the compiled binary to the Launchpad when you are coding stuff without an IDE.
Surprisingly there are tons of tutorials on how to do it on Linux using tools like MSPDebug, but there was none that told me how to use the standard command line tools… in Windows.
I didn’t really want to download the stupidly big, Eclipse-based, EVALUATION version of “Code Composer Studio” which probably could have solved all the problems for me, so I kept searching until I found (combining bits from different sources) how to correctly compile and download the program to the MSP430F5529 processor in the target portion of my Launchpad using nothing but the MSPGCC toolchain and the MSP430Flasher Utility from Texas Instruments.
Here’s what you need to compile the code, first: (my C file was aptly named blink.c)
>msp430-gcc -c -mmcu=msp430f5529 -g -Os -Wall -Wunused -o blink.o blink.c
>msp430-gcc blink.o -mmcu=msp430f5529 -Wl,-Map=blink.map -o blink.elf
>msp430-objcopy -O ihex blink.elf blink.hex
If your launchpad has a different processor you most definitely want to modify the -mmcu parameter in the first two calls.
The previous steps will output an Intel HEX file that can be transferred to the board using:
>MSP430Flasher.exe -v -n msp430f5529 -w blink.hex
(Again, you’ll need to change the device if you are targeting a different board).
If it asks you to upgrade the firmware in your device you’ll probably want to accept. It kinda refused to do anything else until I accepted the upgrade.
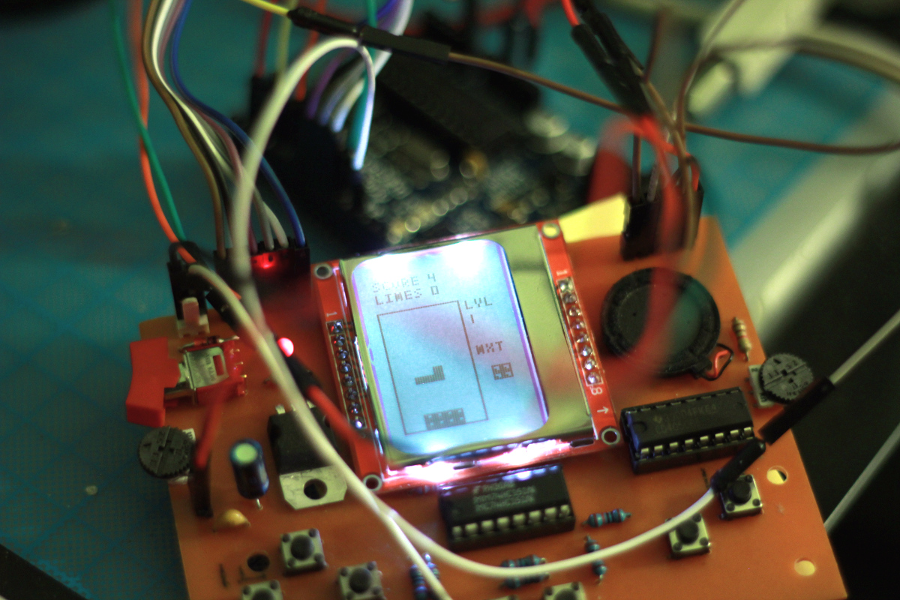
After it finished burning the code into the processor this is what I had:
Voilà.
In the end I couldn’t use my old MSP430 processor and wasted a lot of time doing a stupidly small board for a bunch of prehistoric controllers I couldn’t really program with the Launchpad I purchased… BUT.. I learnt how to use the Launchpad and MSPGCC together to develop programs in C and compile/burn them from the command line and that’s pretty damn exciting!


Can anyone please suggest me how burn new file using msp430 flasher
Hi,
In the post there’s an example of how to use it. Can you describe the problem you are having with the process?
I just found your post; very interesting. I’ve been working with the ‘430 for awhile with the code limited tools, but have been wanting to branch-out to the mspgcc toolchain on a windows machine. I find I really like the Netbeans IDE, and was wondering if you had any thoughts or suggestions on how to connect Netbeans-MSPGCC-MPSDebug into a functional triad…
Best,
Bob
Hi Bob,
Unfortunately it’s been a long time since the last time I used Netbeans. I wouldn’t know where to start integrating it with mspgcc or MSPDebug.
I found this guide however It’s in Spanish but I guess you can follow pretty much the whole process with the help of the screenshots and a bit of Google Translate if Spanish is not your thing.
Is very impressive the way you have created that stencil for the for the MSP430F5529 and the time you have dedicated to solder the ic to the board by yourself. I am working also on porting the F5529 off the launch pad, I was wondering if you could post the stencil file for etching an adapter board?
Best regards,
Hi Jose! I just uploaded the PCB stencil in hi-res (@1200dpi). You can download it here.
Thanks for your comments!
Very useful information conveyed. Sir,I want to work with energy trace technology vaialble with CCS compilers.
I want examples to try with energy trace, as well I need stepwise guidelines to work with enery trace and ULP advisor available with CCS sw.
Can you help in this regard
Thanks & regards
jyoti
Hey there!
Sadly I haven’t worked with Energy Trace nor ULP Advisor. I know the biggest strength of MSP processors is their low power consumption, but this was my first approach to developing for them, and while I find them really nice, it may take a while before I start using them in projects in a way that taps into their full potential and strengths.
As there’s a chance that in a future I explore their power-related features and tools, I created a category for MSP-related posts, which has its own RSS feed that you can follow to keep you in the loop.
Thanks for reading my blog!